Mounting a Bathtub
Setting up a bathtub surround can reclaim a bathtub area that looks past its prime. It does not need to be a challenging job if you just take it one step each time, and also in the right order. Tub borders are offered in three or 5 piece sets. Though a 3 item set may be less complicated as well as quicker to mount, a five-item kit offers you a lot more play in the fit where wall surfaces are not square. Additionally, consider that these usually have corner shelves as well as soap meals.
Tub borders are available on a range of surfaces from smooth, to those that appear like real ceramic tile, but without the care needs of tile. Once you have actually chosen the border that suits your choice, it’s time to read the instructions that featured kit and also see what adhesive is advised before you proceed. You might also discover other practical suggestions.
The surface area you set up needs to be in good condition, flat, and structurally solid. If you are installing a tub surround over drywall it ought to be a moisture-resistant sort of drywall. If you require to replace the drywall get what is described as ‘environment-friendly’ drywall which is moisture-resistant. This will certainly conserve issues later on, a moisture-resistant surface is a necessary step in order to get a great and also long-term setup that is hassle-free.
Remove tap takes care of and also spout as well as ensure the wall surface location is tidy. Before you use any kind of glue you want to start pointing your panels up to the wall to ensure they fit. Panels are made to overlap to compensate for variations in wall surface dimension covered and due to the fact that it is not uncommon that wall surfaces are not square.
Make a layout of where your fixture openings need to be and also move these markings to your panel and also reduced the holes. Measure greater than when to avoid any kind of mistakes in positioning.
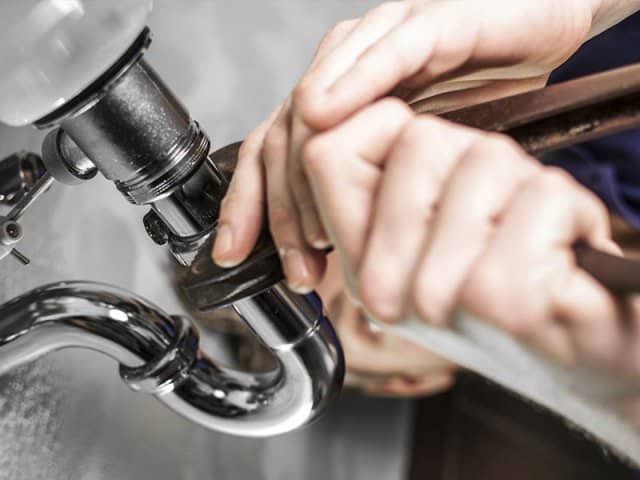
Once you have figured out the positioning of panels you can use advised glue. Cover sides with adhesive seeing to it flow is continuous and the whole side is covered. Place your panels to the wall and also press strongly so the glue will take. Re-install your plumbing components and also caulk joints of panels as needed. Allow time for the glue to treat before making use of the shower.
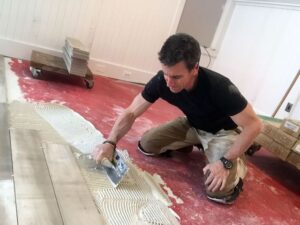
It is also handy if you can have a friend or family member provide an assisting hand. This is not a hard project, yet the panels are sizable and they bend. It is much easier if you have an assistant when you are trying them for fit prior to applying glue, and when you established them in place with sticky.
The essential actions for mounting a bathtub surround include:
- Selecting a bathtub border with the surface as well as features you like
- Reading the instructions offered with the package and checking to see that you require materials and also devices
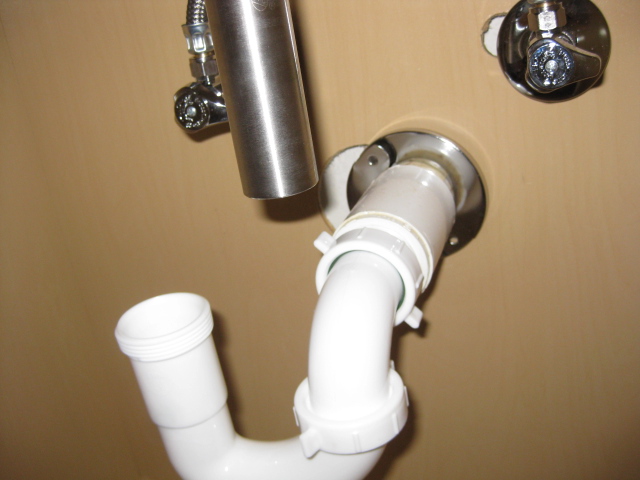
- Removing plumbing fixtures as well as evaluating the wall area
- Employing a close friend or member of the family to provide you a hand as required
- Doing a dry run by fitting panels to the wall surface prior to using glue
- Making a template for fixture openings and also transferring to the panel. Action and also check more than when. Cut openings
- Apply sticky, shaped bathtub border panels to the wall surface and also press. Reinstall plumbing components as well as caulk
- Thank your assistant
Once you have actually completed setting up the tub surround as well as doing the tidy up, you can stand and appreciate how new as well as approximately date your hot water bathroom area looks.